Errore nel formato dell'e-mail
emailCannotEmpty
emailDoesExist
pwdLetterLimtTip
inconsistentPwd
pwdLetterLimtTip
inconsistentPwd


Are you tired of spending a fortune at the nail salon or struggling with traditional nail glue that doesn’t quite deliver the results you desire? Look no further! In this post, we will introduce you to the incredible world of 3-in-1 nail glue gel and show you how it can revolutionize your nail care routine. From understanding its benefits to mastering the step-by-step application process, we have all the information you need to achieve flawless nails from the comfort of your own home. So, let’s discover the secrets to beautiful nails with the help of 3-in-1 nail glue gel!
Complete Introduction about the 3-in-1 Nail Glue Gel?
1. What is 3-in-1 nail glue gel?
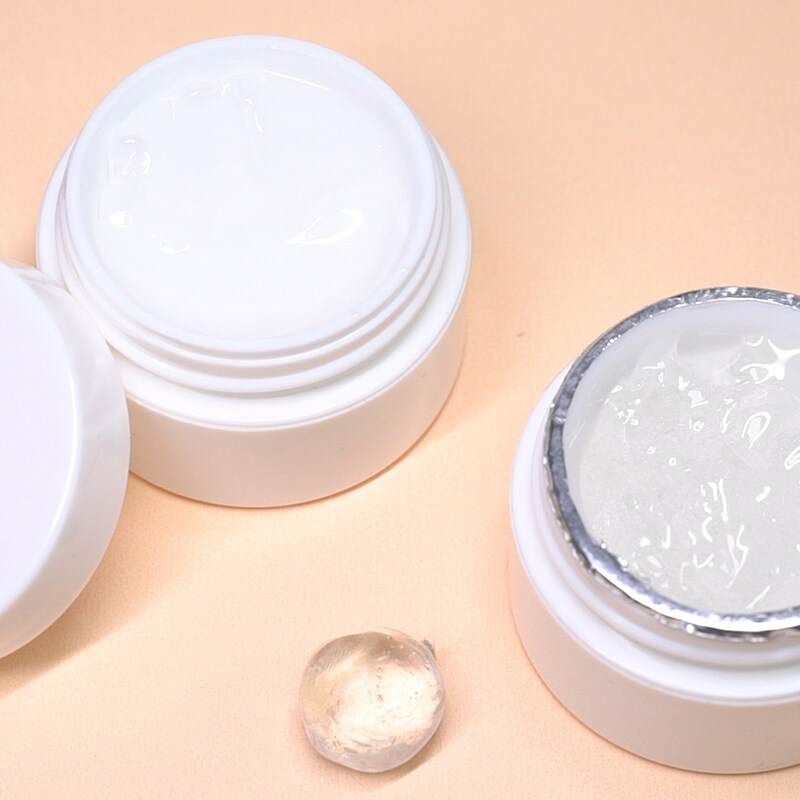
The 3-in-1 nail glue gel is a versatile product that combines the properties of a nail glue, gel, and base coat. It provides a strong bond, adds durability, and enhances the overall appearance of your nails.
2. Benefits of using 3-in-1 nail glue gel?
1). Strong adhesion: The glue gel ensures that your nail tips stay in place for an extended period.
2). Enhanced durability: It adds a protective layer to your nails, making them less prone to chipping or breaking.
3). Versatility: The 3-in-1 formula eliminates the need for separate glue, gel, and base coat, saving you time and effort.
4). Professional finish: The gel-like consistency provides a smooth and glossy finish to your nails.
How does it differ from traditional nail glue?
Traditional nail glue is typically used for attaching artificial nails or repairing broken nails. However, the 3-in-1 nail glue gel offers a more comprehensive solution by providing both adhesion and protection. It also eliminates the need for a separate base coat, making it a convenient option for nail enthusiasts.
Preparing Steps for Your Nails?
1. Cleanse your nails thoroughly:
Start by removing any existing nail polish using a gentle nail polish remover. Cleanse your nails with soap and water to remove any dirt or oils.
2. Trim and shape your nails:
Use a nail clipper to trim your nails to the desired length. File them gently to shape them according to your preference.
3. Buff the nail surface for better adhesion:
Using a nail buffer, gently buff the surface of your nails. This step helps remove any ridges and creates a smooth surface for the glue gel to adhere to.
4. Apply a base coat for added protection:
To further protect your natural nails, apply a thin layer of clear base coat. This step also helps the glue gel adhere better and prevents staining.
How to Apply the 3-in-1 Nail Glue Gel?
Now that your nails are prepped, it’s time to apply the 3-in-1 nail glue gel. Follow these step-by-step instructions:
Step 1: Squeeze a small amount of glue gel onto the nail:
Gently squeeze the tube of the 3-in-1 nail glue gel to dispense a small amount onto the nail. Be careful not to apply too much, as it can lead to excess glue seeping out.
Step 2: Spread the gel evenly using the brush applicator:
Using the brush applicator attached to the cap, spread the glue gel evenly over the entire nail surface. Ensure that the gel covers the area where the nail tip will be attached.
Step 3: Press the nail tip firmly onto the gel:
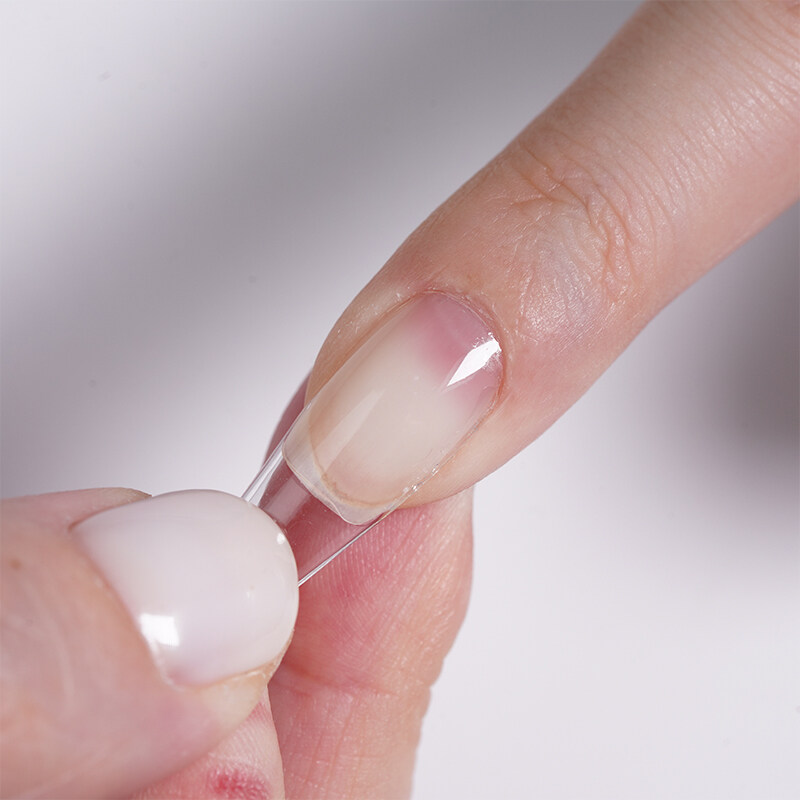
Take the nail tip and align it with the edge of your natural nail. Press it firmly onto the gel, starting from the cuticle area and moving towards the tip. Hold it in place for a few seconds to allow the glue gel to set.
Step 4: Repeat the process for each nail:
Continue applying the glue gel and attaching the nail tips to the rest of your nails, following the same steps.
4 Tips for Long-Lasting Manicure with 3-in-1 Top Coat?
To ensure your nails stay beautiful and intact for an extended period, consider the following tips:
1. Avoid contact with water for at least 24 hours:
Water exposure can weaken the glue gel’s bond. Try to avoid activities such as washing dishes or swimming for the first day after application.
2. Apply a top coat to seal the glue gel:
Once the glue gel has dried, apply a layer of clear top coat over your nails. This step adds an extra layer of protection and enhances the shine.
3. Be gentle with your nails to prevent lifting:
Avoid using your nails as tools or engaging in activities that may put excessive pressure on them. This will help prevent the nail tips from lifting or breaking.
4. Regularly moisturize your cuticles and nails:
Keeping your cuticles and nails moisturized helps maintain their health and flexibility. Apply cuticle oil or a nourishing nail cream regularly to prevent dryness and brittleness.
How to Remove the 3-in-1 Nail Glue Gel?
Step 1: Soak your nails in warm, soapy water:
Fill a bowl with warm water and add a few drops of mild soap. Soak your nails in the solution for about 10-15 minutes. This will help soften the glue gel.
Step 2: Gently push off the gel using a cuticle pusher:
After soaking, use a cuticle pusher to gently push off the softened glue gel from your nails. Be careful not to apply too much pressure to avoid damaging your natural nails.
Step 3: Buff the nail surface to remove any residue:
Once the glue gel is removed, use a nail buffer to gently buff the nail surface. This will help remove any remaining residue and restore the smoothness of your nails.
Step 4: Moisturize your nails and cuticles after removal:
After removing the glue gel, it’s essential to moisturize your nails and cuticles. Apply a nourishing cuticle oil or cream to keep them hydrated and healthy.

Frequently Asked Questions (FAQs):
Q1: Can I use the 3-in-1 nail glue gel for nail repairs?
A: Yes, the 3-in-1 nail glue gel can be used for repairing broken or chipped nails. Follow the same application process, focusing on the damaged area.
Q2: How long does the glue gel last?
A: The longevity of the glue gel depends on various factors, such as your daily activities and nail care routine. However, with proper application and care, it can last up to two weeks.
Q3: Can I apply nail polish over the glue gel?
A: Yes, you can apply nail polish over the glue gel once it has dried completely. Ensure that you apply a base coat before the polish to protect your natural nails.
Q4: Is the glue gel suitable for all nail types?
A: Yes, the 3-in-1 nail glue gel is suitable for all nail types, including natural nails and artificial nail extensions. It provides a strong bond and enhances the durability of your nails.
Precautions and Safety Measures for 3-in-1 Top Coat?
1. Avoid contact with eyes and skin:
The glue gel may cause irritation if it comes into contact with your eyes or skin. If this happens, rinse thoroughly with water and seek medical attention if necessary.
2. Keep out of reach of children:
Store the glue gel in a safe place, away from the reach of children. It contains chemicals that may be harmful if ingested or misused.
3. Store the glue gel in a cool, dry place:
To maintain the quality and effectiveness of the glue gel, store it in a cool and dry place. Exposure to heat or moisture can affect its performance.
4. Discontinue use if any irritation occurs:
If you experience any redness, swelling, or discomfort after using the glue gel, discontinue use immediately. Consult a healthcare professional if the symptoms persist.
Conclusion
The 3-in-1 nail glue gel is a game-changer for achieving salon-quality nails at home. By following the step-by-step application process and incorporating our tips for long-lasting results, you can enjoy beautiful and durable nails. Whether you are a nail art enthusiast or simply want to maintain a polished look, this versatile product is a must-have in your beauty arsenal.